What You’ll Need Tevo Tarantula Assembly
Embarking on the Tevo Tarantula assembly journey requires careful preparation. Before you even unbox your printer, gather all the necessary components and tools. This ensures a smooth and efficient assembly process. Familiarize yourself with the parts list provided in the Tevo Tarantula manual, and cross-reference it with the actual components you have. This initial check will help you identify any missing or damaged parts upfront, saving you time and potential frustration down the line. Make sure you have a well-lit, spacious workspace. An organized workspace is crucial for keeping track of small parts and avoiding any accidental loss during the assembly process. Having all your components readily available will greatly streamline the entire procedure. Consider preparing a container or small trays to sort screws, nuts, and other small parts. This organizational step is a small but significant factor in ensuring an easy and successful assembly of your new 3D printer.
Tools Required for Assembly
The Tevo Tarantula assembly requires a set of tools that will help you to put all components together. You’ll need a set of Allen wrenches, typically included with the printer, but having a good quality set will make the assembly much easier. A Phillips head screwdriver is also essential for securing various components. A pair of wire cutters or diagonal pliers is needed for tidying up wiring and making precise cuts. A digital multimeter can be useful for checking electrical connections and ensuring the safety of the wiring, and a set of needle-nose pliers can be helpful for handling small parts and wires in tight spaces. Also, consider having zip ties or cable ties to manage the wiring. Although some tools may be included in your kit, it is always advisable to have your own tools of high quality to avoid damage to components. With the right set of tools at your disposal, the assembly process will be more efficient and far less frustrating.
Parts of the Tevo Tarantula Explained

Before you dive into the Tevo Tarantula assembly, take a moment to understand the different parts that make up this 3D printer. Familiarizing yourself with these components will make the assembly process much easier to follow. The frame is the foundational structure of the printer, usually made of aluminum extrusions. This provides a stable base for all other components. The Z-axis, consisting of threaded rods and motors, controls the vertical movement of the print bed. The X-axis supports the hotend and the extruder, moving it horizontally across the print bed. The hotend melts the filament and extrudes it onto the print bed. The extruder feeds the filament into the hotend. The print bed is where the 3D model is printed. The control board is the brain of the printer, managing all the operations. Motors are essential components that drive the axes of the printer. Understanding each component of the Tevo Tarantula will not only streamline the assembly process but will also enhance your understanding of the printer’s functionality.
Step-by-Step Tevo Tarantula Assembly Guide
Now it’s time to start assembling your Tevo Tarantula. Each step will be explained in detail to ensure a comprehensive and easy-to-follow process. By following the guidance you will avoid errors and make sure your 3D printer is ready for its first print.
Prepare the Frame
The frame assembly sets the foundation for your Tevo Tarantula. Start by connecting the frame extrusions using the provided screws and corner brackets. Ensure that the frame is square and stable before tightening all screws. This is critical to prevent any misalignment during printing. It is advisable to initially tighten the screws loosely, then check for squareness before fully tightening to ensure everything aligns correctly. A perfectly aligned frame is critical for ensuring that your prints are precise. Double-check all connections to guarantee the frame is sturdy and can withstand the movements of the printer.
Install the Z-Axis

Next, install the Z-axis components. Attach the threaded rods to the frame and the Z-axis motors. Make sure the rods are perfectly vertical to ensure smooth movement of the print bed. Use the provided hardware to secure the Z-axis components firmly. Once everything is in place, test the vertical movement to confirm that the bed rises and falls smoothly. Check that the Z-axis motors are correctly connected to the control board, and that the movement corresponds to the control inputs. It is essential to adjust the Z-axis to prevent any binding or friction, which can affect the quality of your prints. This step is very important for getting clean and precise prints.
Mount the X-Axis
The X-axis supports the hotend and the extruder. Attach the X-axis to the Z-axis carriages, ensuring that it moves smoothly along the vertical axis. Ensure that the belt is correctly routed and tensioned. The belt should not be too loose or too tight. Properly tensioned belts prevent print defects such as layer shifts. This step requires careful alignment to ensure that the hotend moves smoothly across the print bed. Check that the X-axis is level and that there is no binding during movement. The X-axis is critical to the accuracy of the 3D prints, so this step demands careful attention to detail.
Attach the Extruder and Hotend
Now, it’s time to attach the extruder and hotend to the X-axis. Carefully install the hotend into the designated mount on the X-axis. The hotend includes the nozzle, which melts and extrudes the filament. Secure the extruder, ensuring that it is aligned with the hotend. Ensure all components are properly secured to prevent leaks. The extruder should be able to grip the filament firmly and feed it smoothly into the hotend. Make sure the nozzle is correctly positioned relative to the print bed. A correctly assembled hotend and extruder are essential for producing accurate 3D prints. If the filament jams in the hotend or the extruder, this will affect your prints. Always check that there are no filament blockages.
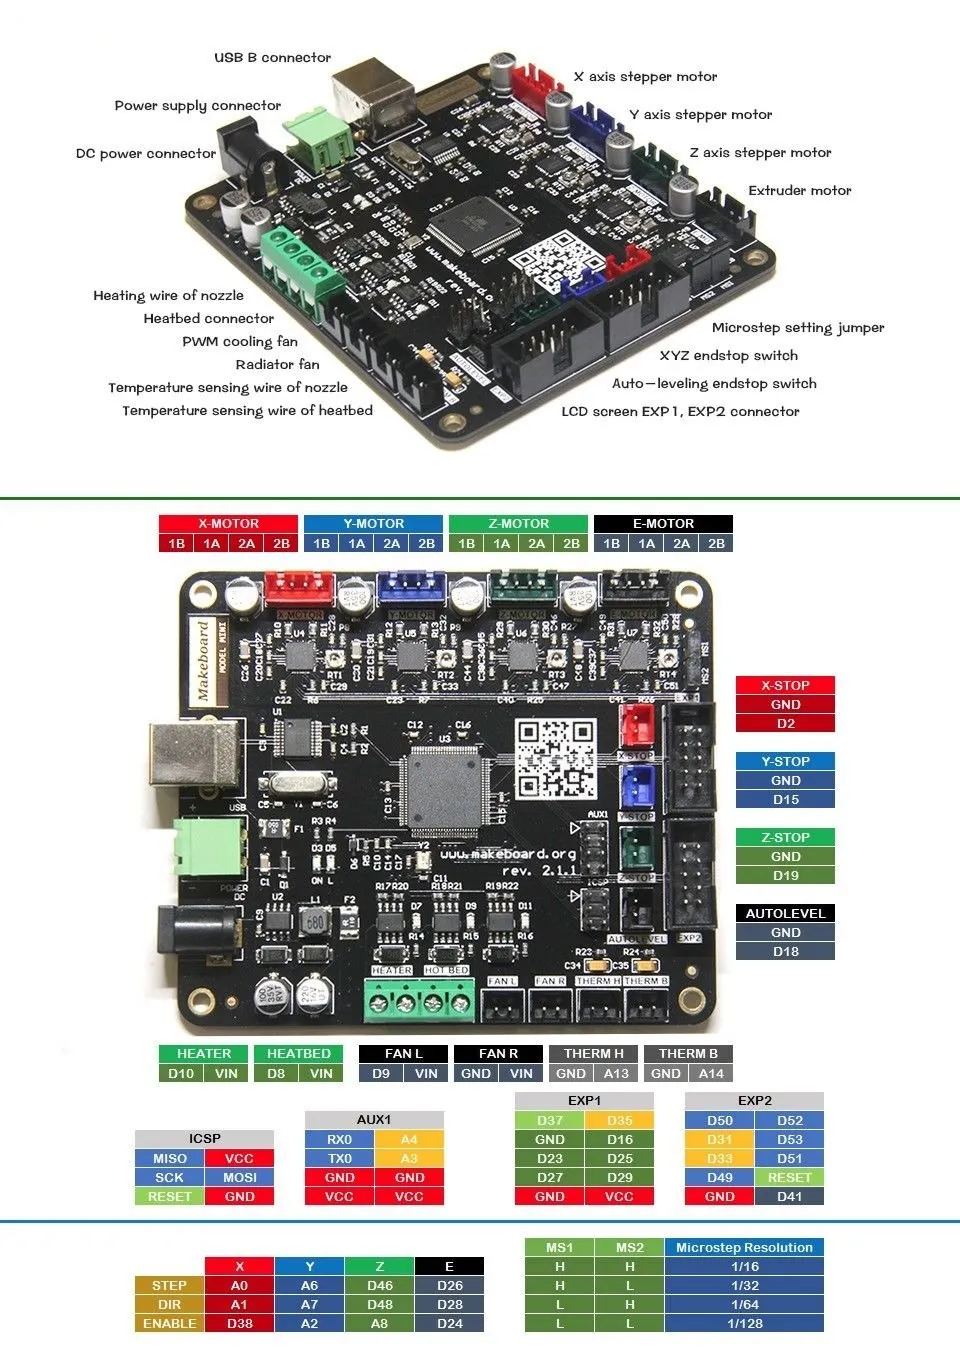
Wiring the Electronics

Proper wiring is essential for your Tevo Tarantula to function correctly. Carefully connect all the motors, endstops, and the hotend to the control board. Follow the wiring diagram in the manual precisely to avoid errors. Make sure that all connections are secure and that there are no loose wires. Use zip ties to organize the wiring, and keep it away from moving parts. Ensure all wires are correctly inserted into their respective terminals. Check the wiring thoroughly to prevent any short circuits. Correct wiring will prevent malfunctions and other problems. Use a multimeter to confirm connections if you need to and for additional safety.
Connecting the Power Supply and Control Board
Now, connect the power supply to the control board. Double-check all connections to ensure that they are secure. Use the appropriate power cables and connectors. Make sure to follow the safety guidelines. Improper power connections can cause malfunctions or even hazards. Test the power supply to make sure it is working. A properly connected power supply is essential for the safety and operation of the printer. Always make sure you are working with the power supply disconnected from the wall outlet, and carefully check all connections.
Calibrating and Testing Your Tevo Tarantula
Once the assembly is complete, you will need to calibrate and test your Tevo Tarantula. This step is crucial for ensuring that the printer works as intended. Start by leveling the print bed, which ensures that the first layer of your print adheres properly. Then, test all axes and motors to ensure that they are moving smoothly. Next, adjust the settings in your 3D printing software to match your printer’s specifications. Print a test object to check the print quality and make adjustments if necessary. Calibration is an ongoing process. Regularly check and adjust your printer settings to maintain print quality and ensure smooth operation.
Leveling the Bed

Bed leveling is essential for getting successful prints. Start by manually adjusting the bed to the correct height using the leveling screws. Ensure that the nozzle is at the correct distance from the print bed. This is usually done by using a piece of paper as a guide. Run the auto-leveling procedure if your printer is equipped with that feature. Test the bed level by printing a test print to ensure proper adhesion and print quality. Regularly check the bed level and adjust as needed to get consistent results. Proper bed leveling is critical for the first layer adhesion and overall print success.
Testing the First Print
After completing the assembly and calibration, it’s time for your first print. Choose a simple test model to print. Load the filament into the extruder. Heat the hotend to the required temperature for your filament. Start the print and monitor the process to ensure that everything is running smoothly. Observe the first layer of the print, ensuring that it adheres correctly to the bed. Check for any errors during printing and make adjustments as necessary. After the print is complete, examine the model for any imperfections. Your first print will tell you how well you did the assembly and calibration and what further adjustments are needed. Testing the first print will provide valuable insights for troubleshooting issues and optimizing the printer’s performance.
Troubleshooting Common Assembly Issues
Assembling your Tevo Tarantula can be challenging. There are many potential problems that can arise during the assembly. However, with the right approach, you can resolve these issues effectively. If you encounter problems during the assembly, do not panic. The most common problems are detailed below. By being proactive and having a strategy in place, you can resolve all these common issues and have your 3D printer up and running.
Nozzle Clogging and Extrusion Problems

Nozzle clogging and extrusion problems are common issues in 3D printing. These problems can happen due to various reasons, such as incorrect temperature settings, low-quality filament, or simply dust and debris. If the nozzle is clogged, try heating the hotend and using a needle to clear the obstruction. Ensure the correct temperature for the filament you are using. Check the filament for any issues or debris. Make sure the extruder is feeding the filament correctly and that there are no blockages in the hotend. Troubleshooting these issues will involve inspecting the hotend, checking the filament, and adjusting the settings. By taking these measures, you will resolve most extrusion problems.
Bed Adhesion Issues
Bed adhesion is critical for the first layer. Issues with bed adhesion can cause prints to fail early on. To fix this problem, ensure the print bed is clean. Use a leveling procedure to make sure the bed is even. Also, adjust the bed temperature and try different adhesion methods, such as using glue stick or painter’s tape. Make sure the nozzle is the correct distance from the print bed. Bed adhesion problems can be very annoying. By working through these troubleshooting steps, you can avoid such problems.