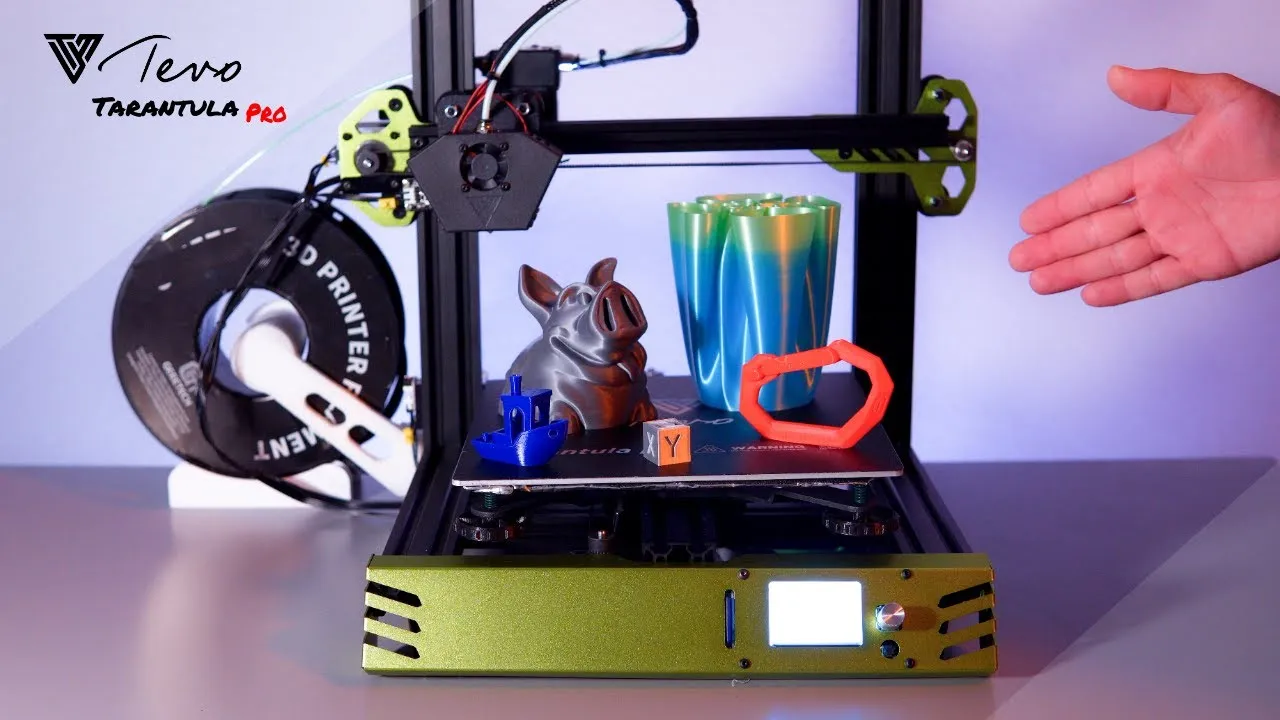
Understanding Tarantula Pro Firmware
The Tarantula Pro 3D printer, a popular choice among hobbyists and enthusiasts, relies heavily on its firmware to function correctly. Firmware, essentially the operating system of your 3D printer, governs all essential operations, from controlling the stepper motors and heating elements to interpreting G-code instructions and managing the LCD display. A well-maintained and up-to-date firmware is crucial for optimal performance, print quality, and the integration of new features. Understanding the role of firmware is the first step toward a successful update. It is the backbone of your printer’s functionality, ensuring that all components work in harmony to bring your 3D models to life.
Why Update Your Tarantula Pro Firmware
Updating the firmware on your Tarantula Pro offers several compelling advantages. Firstly, updates often include bug fixes that resolve known issues and improve the printer’s overall stability. This leads to fewer printing errors, less wasted filament, and a more reliable printing experience. Secondly, firmware updates can introduce new features and enhancements, such as improved print quality algorithms, advanced control options, or support for new hardware components. Moreover, updates can also improve the printer’s compatibility with different types of filament, expanding your creative possibilities. In essence, updating your firmware keeps your printer running smoothly and allows you to take advantage of the latest advancements in 3D printing technology.
Benefits of the Latest Firmware

The latest firmware for your Tarantula Pro brings a wealth of benefits that can significantly enhance your 3D printing experience. You can expect improved print quality due to refined algorithms that control the printer’s movements and extrusion process. This can lead to smoother surfaces, sharper details, and reduced imperfections in your prints. In addition to print quality improvements, new firmware often includes enhanced safety features, providing better protection against overheating or other potential hazards. Firmware updates may also improve the printer’s usability by offering new control options, a more intuitive user interface, and better integration with slicing software. These improvements cumulatively contribute to a more efficient, reliable, and enjoyable 3D printing workflow.
Preparing for the Update
Before you begin the firmware update process, it’s crucial to prepare your Tarantula Pro and ensure a smooth and successful upgrade. This involves several key steps that will minimize the risk of errors and data loss. First, make sure you have a stable power supply to prevent interruptions during the update process. Unplugging the printer mid-update can cause major problems. Second, gather all the necessary tools and materials, including a computer with a USB port, a USB cable, and the correct firmware file. Finally, take the time to back up your current settings; this is a critical step, allowing you to revert to your previous configuration if something goes wrong. Careful preparation is key to a successful firmware update.
Backup Your Current Settings
Backing up your current settings is a vital step in the preparation process. This ensures that you can restore your printer’s configuration if the update fails or if you experience any issues with the new firmware. Most 3D printer firmware allows you to save your settings to a file on your computer or an SD card. This backup includes critical information, such as your printer’s bed leveling settings, E-step calibration, and other customized parameters. If a problem occurs during the update, you can easily revert to your saved settings, minimizing downtime and frustration. This backup is essential for protecting your investment in your 3D printer and preventing potential headaches down the road.
Download the Firmware File

The next step is to download the correct firmware file for your Tarantula Pro. You’ll typically find the latest firmware on the manufacturer’s website or in online 3D printing communities, like forums. When downloading the file, make sure you select the correct version for your specific printer model. Downloading the wrong firmware can damage your printer. Once you’ve found the appropriate firmware file, carefully read the instructions provided by the manufacturer. These instructions will guide you through the update process and provide important information about any necessary precautions. Always double-check that you’re using the correct and official firmware to prevent errors.
Hardware Preparation
Before proceeding with the firmware update, prepare your hardware. Ensure that your Tarantula Pro is connected to your computer via a USB cable. Make sure the printer is powered on and that the connection is stable. Close any other programs that might interfere with the update process. You may also need to install the necessary drivers for your printer, so your computer can communicate with it properly. Refer to your printer’s manual or online resources if you’re unsure about the driver installation. Taking these precautions will ensure a stable connection during the firmware update, minimizing the risk of errors.
Updating the Firmware
The firmware update process typically involves using a specific software program, often provided by the manufacturer or a community-developed solution. This software allows you to upload the new firmware file to your printer’s control board. This process can vary depending on the method chosen. Before starting the update, carefully follow the instructions provided by the manufacturer or the software you are using. During the update, do not interrupt the process by unplugging the printer or closing the software. Allow the update to complete uninterrupted. A successful firmware update will bring your printer’s software up to date and give you the latest features.
Step-by-Step Installation Guide

The step-by-step process generally involves opening the firmware update software, selecting the correct port for your printer, and then selecting the firmware file you downloaded. Most software will have a ‘Flash’ or ‘Upload’ button that will start the transfer of the new firmware to the printer. Ensure the process is not interrupted. The software will display a progress bar. Once the progress bar reaches 100%, the firmware update should be complete. After the update is finished, the printer may restart automatically, or you may need to manually restart it. After the restart, your printer will be using the new firmware. If the update does not proceed after some time, consult the troubleshooting sections.
Initiating the Update Process
Once you have prepared everything, initiate the firmware update. In the software, click on the ‘Upload’ or ‘Flash’ button to start the process. The software will then send the new firmware to your printer’s control board. Be patient, as the update process may take a few minutes to complete. During the update, do not disconnect the USB cable or turn off your printer. Interrupting the update can corrupt the firmware and render your printer unusable. Wait for the software to indicate that the update is complete before taking any further action. If the software displays any error messages, consult the troubleshooting guide to resolve the issue.
Troubleshooting Common Issues
Despite careful preparation, you may encounter issues during the firmware update process. Common problems include the update failing, the printer not responding, or errors in the printer’s display. If the update fails, double-check that you have selected the correct firmware file and that the USB connection is stable. Ensure you are using the correct port, and the drivers for your printer are installed. Consider restarting your computer and printer and trying the update again. If the printer is not responding during or after the update, disconnect the printer from the power and then reconnect, then attempt to restart the process.
Firmware Update Failed

If the firmware update fails, the first thing to do is remain calm and try to diagnose the cause. Review the error messages displayed by the update software, as they often provide clues about what went wrong. Ensure that the printer is properly connected to your computer via the USB cable and that the connection is stable. Verify that the firmware file you selected is the correct one for your printer model. Close all other programs that might be interfering with the update process. If the error persists, try restarting your computer and printer and repeating the update process. In some cases, you may need to consult online forums or contact the manufacturer for assistance.
Printer Not Responding
If your printer stops responding during or after the firmware update, it may be necessary to troubleshoot the issue. First, try restarting your printer and computer. Check the USB connection to ensure it’s secure. If the printer is still unresponsive, there may be a problem with the firmware. Try reflashing the firmware, following the steps in the installation guide. If the printer still does not respond, there might be a problem with the bootloader. In such cases, you may need to seek professional help or consult specialized online resources. Always proceed with caution, and consider the risk involved when diagnosing these issues.
Verifying the Update
After the firmware update is complete, it’s essential to verify that the new firmware has been successfully installed. This will ensure that your printer is running the latest version and that all features are functioning correctly. Verifying the update also helps catch any potential issues early. By verifying the update, you can make sure that your printer is ready for its next 3D printing task.
Checking the Firmware Version

The easiest way to verify the firmware update is to check the firmware version displayed on your printer’s LCD screen. This information is typically found in the printer’s settings menu. Navigate to the ‘About’ or ‘Information’ section to view the current firmware version. Compare the displayed version number to the version you downloaded. If the numbers match, you can be confident that the update was successful. If the version numbers do not match, or if you are unable to find the firmware version information, repeat the update process. A successful update assures that your printer is running on the new firmware.
Finalizing the Setup
After a successful firmware update, it’s crucial to finalize the setup and ensure your printer is ready for use. This involves configuring the new settings and testing the printer to ensure everything is working correctly. This step is crucial to get the best results from your 3D printer and ensure that you are ready to begin a new print job. This will also let you prepare to start the next print job with confidence. Proper setup is key to maximizing the benefits of the updated firmware.
Configuring New Settings
The new firmware may have introduced new settings or changed the defaults. Take the time to review the printer’s settings and make any necessary adjustments. This might include recalibrating your printer’s bed leveling, adjusting the temperature settings, or configuring any new features that the firmware update introduced. Refer to the firmware documentation or online resources to learn about the new settings and how to configure them. Make a note of your settings for future reference. Configuring the settings properly ensures that your printer is optimized for the types of prints you do.
Testing the 3D Printer

The final step is to test your 3D printer to ensure that the firmware update was successful and that everything is working correctly. Print a test model or a calibration cube to check the print quality, dimensional accuracy, and overall performance. If you encounter any issues, such as poor print quality or printer errors, revisit the troubleshooting steps. Adjust the printer’s settings if needed. Testing your printer helps you become familiar with the new firmware and to make sure it is working properly. Take the time to perform a thorough test before you start printing larger, more complex models.
Conclusion
Updating your Tarantula Pro firmware is a critical step in maintaining optimal performance, print quality, and access to the latest features and improvements. By carefully following these steps, you can successfully update your printer’s firmware and take advantage of the latest advancements in 3D printing technology. Remember to prepare your printer, back up your settings, download the correct firmware file, and follow the instructions carefully. With proper planning and execution, you can keep your Tarantula Pro running smoothly for years to come. Enjoy your enhanced 3D printing experience!